

While working on the main set of windows in the kitchen, we found out that all the window weights were still there. With the exception of one that was still attached, thee others had simply broken off and fallen into the wall. So, that means the ones I'm finding in the yard do not belong to these windows.
Anyway, once the weights were discovered, Annette insisted that they be restored back to the way they were. Besides, it was getting old using a piece of old curtain rod to hold the window up.
BTW - it should be pointed out that the left window could not be opened at all, years of grime and paint. The right window could be opened with difficulty.
So let's begin....
We started the process of restoring the windows (before we knew the weights were in the wall) by removing the stop beads running along the sides. Then the stripping and sanding began. It was during this process that the weight pockets were discovered, but we were not sure due to a piece of tin weather striping that had been installed during the mid to late 20s.
Well, while doing the finish sanding I kept catching, and tearing, the sandpaper on this tin weather striping. So, I decided to remove it, but was afraid I would ruin the striping in the process. Turns out I worried for no reason. Instead of a dozen or so tiny tacks holding the striping in (like the stripping in the doors) there were on two tacks; one at the top and one at the bottom. Once those were removed, and with a lot of jiggling, the tin striping came loose and I could slide it out.
It was then that the pocket piece (the little wooden door that covers the weight pocket) came to light. It was then decided - "in for a penny, in for a pound" - the weights would be fixed. Besides, we had several in the yard so it would really be much of an effort. However, when the pocket piece was removed, to my surprise, the weights were still there!
Once found, we needed to make the decision on how to reattach them, so it was off to my restoration library for some window weight research. After this it was decided to use solid brass sash chain, also known as plumber's chain, to reattach them.
 What you see here is the weight pocket on the right side of the right window.
 This is a pic of the interior of the middle sill separating the two windows.
There is about 3" of dirt and crud at the bottom.
Do you see the two cylinder objects at the top of the pic? Turns out those are the weights for the top window sashes!!! We didn't even know they could be opened!!
To the left of the pic you can see the backside of the opposite pocket piece.
 What we have here are the parts needed to fix the weights.
There are two weights (12 pounds each - one per each side of the window), two pocket pieces; and the new brass chains.
Above all of this is one of the original cotton sash cords that had broken off.
 The chains are then attached via a screw.
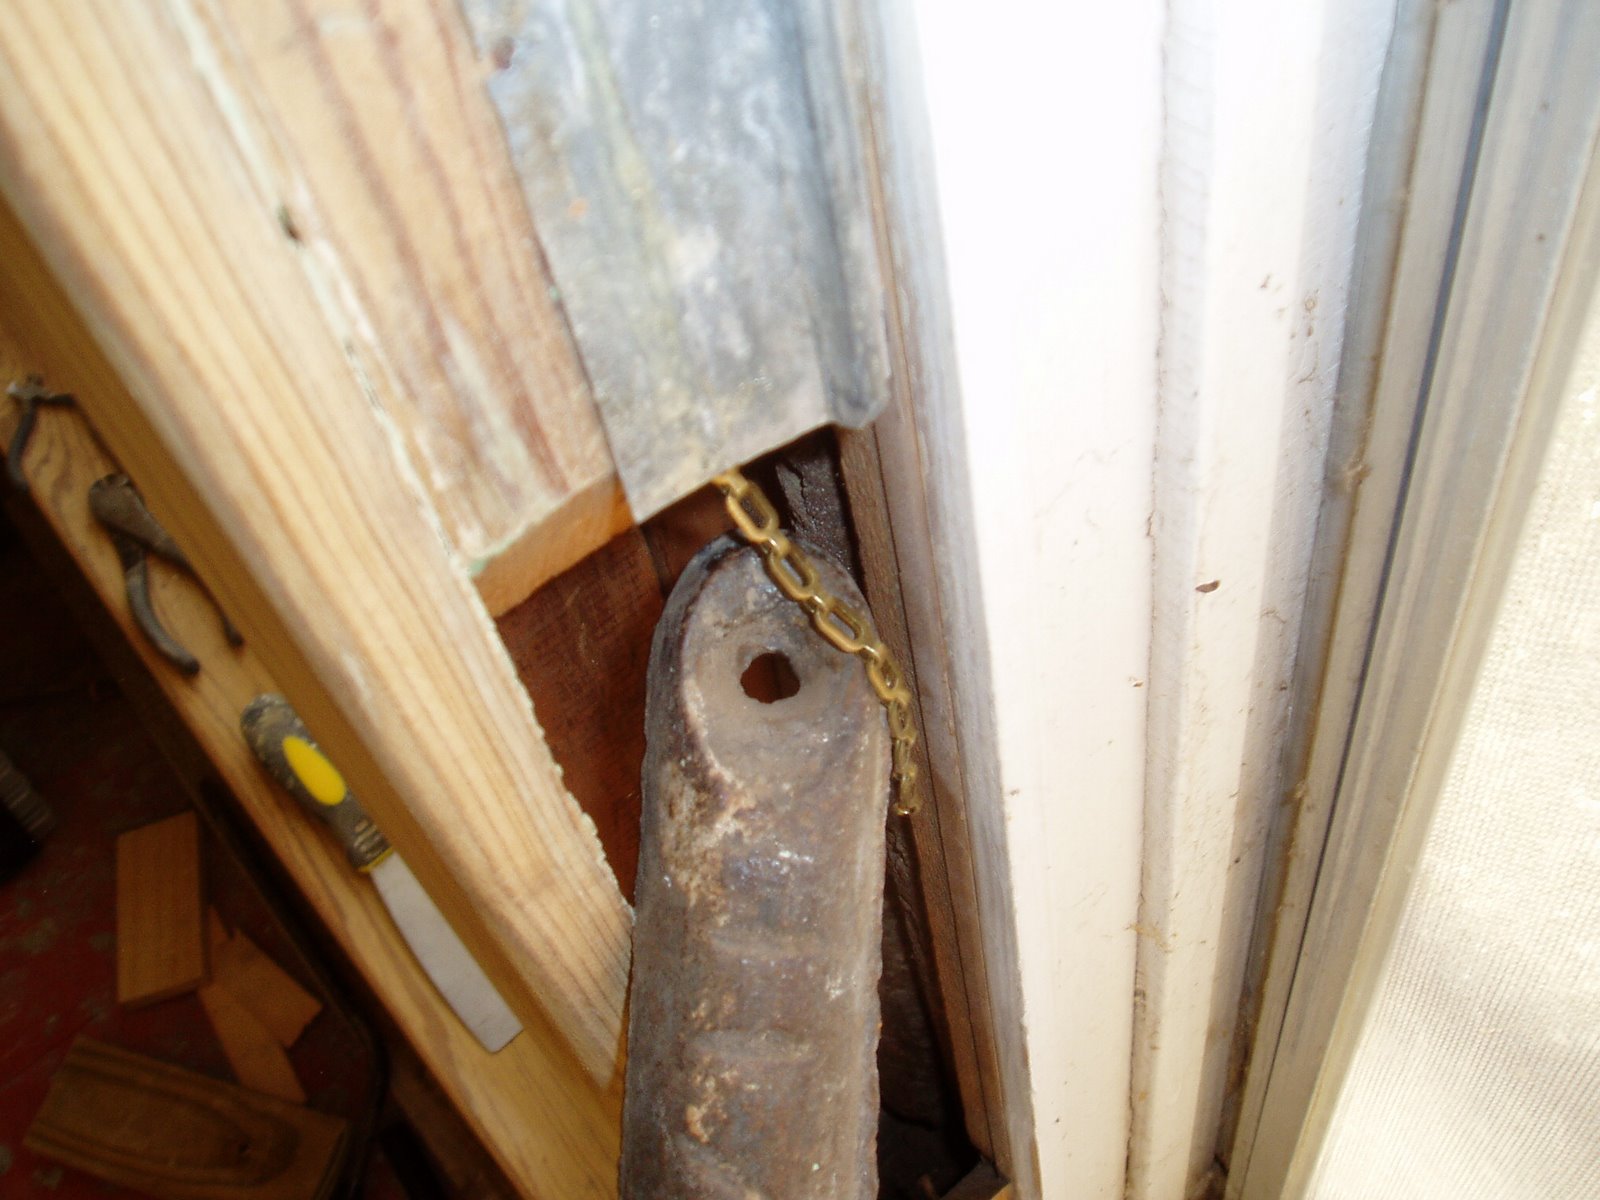 The next move was to replace the window and prop it up as high as it would go so that the other end of the chain, after threading through the pulley, could be attached to the weight.
Hey - see that long, thin grey piece above the chain? That is part of the tin weather stripping. It has a date stamp of 1925 on it.
 The weight is then attached and the chain secured with a cotter pin (makes it easier to work on in the future if we need to).
The weight is then reinserted into the wall.
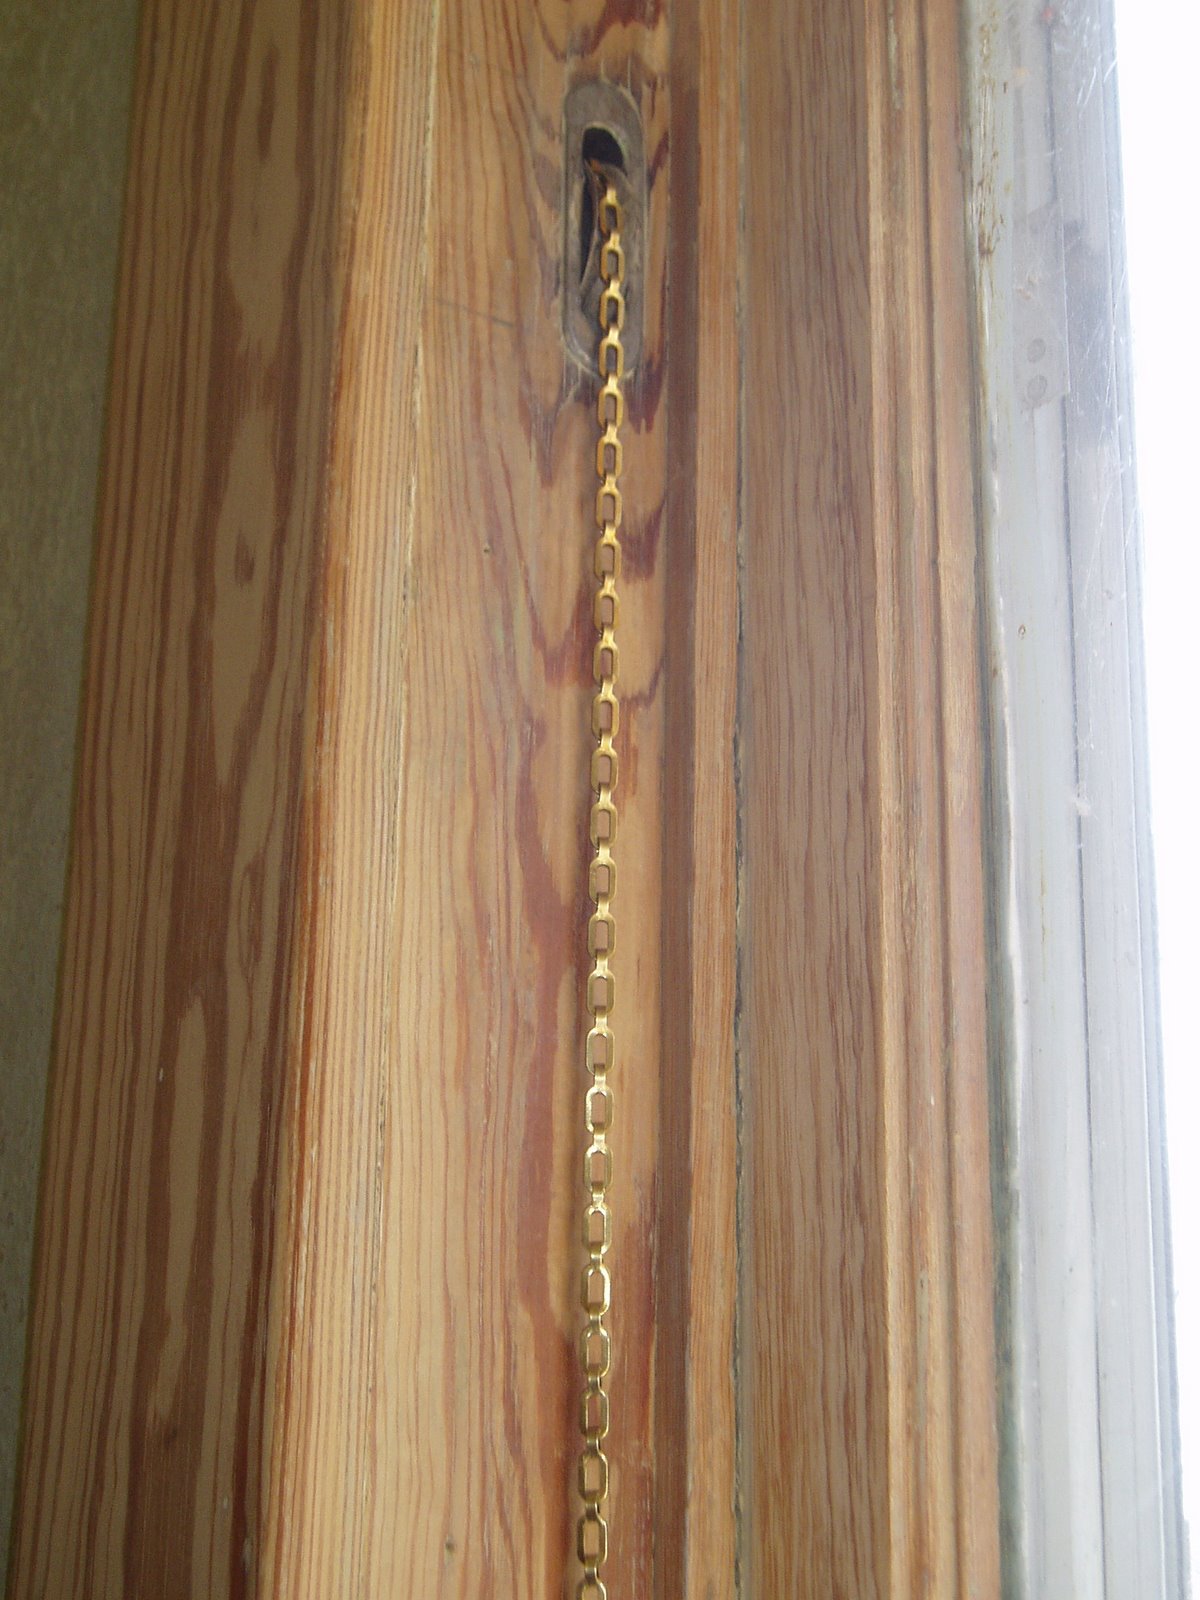
 The pocket piece is then reattached.
 And there you have it, a working window weight!
 Here is a close-up of the pulley. All for of these were in excellent working condition. All that needed to be done was cleaning off the old grime and paint.
The windows work so well now that you can easily open them with one hand; whereas before it took both hands, a shoulder, and a lot of grunting to get one open.
This was such an easy operation that we've decided to do it to all the other windows that have a weight system.
On a side note...the windows above the sink and stove do not have a weight system. Instead, they have a spring like system that uses a thin piano wire as the cord. We are quit happy with the results and can't wait to see how the brass will look against the stain!


6 comments:
I just discovered your blog. You have a very cool house. I actually went to KU in Lawrence, which is where I acquired a love for old famrhouses. I'll have to check out your blog in full, when I have more time.
Incidently, I was just in Kansas driving through. I don't care what people say, it is really a great place.
Your windows in the kitchen look great!!! Any glass breakage sanding?
I cant even find the groves from where the pulley or ropes go. They must have been covered over. Or even worse maybe my windows never had any having been built in 1885
Thank you.
No cracks from sanding, but we did get a tiny pressure flake when I jacked the lower seal into place. It was no bigger than a childs pinky nail.
Let me do some checking for you about your windows.
Post a Comment