I have always wanted to do a MEGA post and figured this would be a good time to do it, boy was I misled. This beast is horribly long and isn't even complete!
As of this point it has taken three days just to get the pictures for this post ready. I have no idea how long it will take to write the post. If it were to be done over again I would have posted up-dates like normal. It's just that those post's would of ended up dealing more with piddly little things that, to be honest, I figured you all would eventually get board with.
So, sit back with a cup of coffee, tea, or Prozac and enjoy the erratic ride!
This post picks up where we left off with the last post.
All of the blemishes in the woodwork are fixed - at least the ones I could find. All that was left to do was shellac the stuff. It's hard to explain because the pictures just don't show it all that well but a coat of Amber shellac does add a depth of warmth and 'age' to the woodwork.
It took an entire day to apply the shellac - hence the washed out pics. For some reason when I take pictures at night they seem to wash out a bit. Anyway, since this was such a delicate operation we decided to bring in a contractor to do it.
 Here he is looking over his work to make sure it turned out okay.
Do you see the richness, and warmth, in the finished woodwork? Hopefully the following picture will help show it off better.
 I know the darkness of the right photo can add to the overall effect, but the difference is noticeable IMHO. There is definitely a warmth and depth that wasn't there to begin with.
 Sorry about the quality of this picture - not sure what happened, perhaps I was just tired. You do get the idea though - I hope.
The doors to the utility porch and the dinning room..

And the other two doorways.
There's that contractor again looking it over.
 "where's my money? I'll accept birds & mice."
Okay - now on to the next step.
We finally decided on paint colors but they are not exactly the ones we chose a while back. So with the paint purchased the date was decided as to when we would slap it up on the walls.
Let's step back just a bit first. My birthday is during the first week of October. Typically we use my birthday week-end to kick off the Fall/Holiday season by having a huge bonfire for family and friends. This year the weather would not cooperate though, it rained just about every day! So this year the bonfire was the second week-end.
Anyway, during the middle of the night of Thursday/Friday I woke up thinking - "CRUD!! We have planned to paint on Saturday!!!". How can we do all that painting with people coming over Saturday night? With this in mind I decided to go ahead and paint the walls Friday while SWMBO was at work. If I did this she could paint the ceiling Saturday while I did piddly stuff in the kitchen and got ready for that night.
I also decided not to tell her my plan. I figured it might be interesting to see her face when she walked in and saw the place once she got home. She was not disappointed!!
I'm glad I went ahead and painted on Friday - it went faster and allowed me to get some extra projects before she got home.
 The back hall area with the new paint.
Yes, the column is not done. We have decided to hold off on it for a while. If everything goes as planned you will learn why after Christmas.
What do you think of the color?

Part of the main hall area wall.
There is a lot to see in this pic. Did you notice the light fixture? These were actually installed Saturday morning - SWMBO helped me with this.
You can also see part of a poster up against the wall. This is THE poster that started this whole kitchen mess and inspired the theme. It is a poster for a 19th-century cabaret in the bohemian Montmartre district of Paris called 'Le Chat Noir' (the Black Cat). Do you see a black cat theme running in our house?
One of these days I hope to take SWMBO to the real Hôtel du Chat Noir in Paris.
Back to reality... You can also see that hideous orange in the built-in cabinet.
The next picture I just tossed into the mix. The half-wall is just about finished. It got to this point the day before I painted the walls.
 This sucker turned out a lot better than we expected it to.
The beadboard was not stained at all. The color is achieved by using clear shellac. Everyone who walks in is blown away by the color that popped out using the clear shellac. We wanted this piece of woodwork to stand out against the rest, looks like it worked.
The top is Red Oak stained with Brazilian Rosewood. It does have a layer of Amber shellac on it but not the top coat - I'll get to that later.
 This picture was taken the Saturday night of the bonfire. I just wanted you all to see the warmth of the lights with the wall color.
Those light-bulbs are specialty light-bulbs. They have a hair sized thread of gold spun around the bulb. It is a cool effect but pricey. These bulbs came from Lowe's and cost $4 each. When I tried to find them on-line cheaper the range went from $4 - $12 per bulb and that did not include shipping!! We're going to need to stockpile a few of these for the future.
I'm also looking at making some candle adapters so that real candles can be used in these sconces, as well as in the chandeliers in the other rooms, during special occasions and holidays.
 Here's the doorway into the foyer.
I'm rather pleased with the way the woodwork and paint turned out.
See the finial in the lower corner? All of these took a lot of time to finish; small modeling brushes had to be used to stain and shellac the piece as well as paint the wall sections next to them.

The kitchen is slowly starting to come together and we are even playing with accessory colors and items that will be going in the kitchen.
The windows still need to be cleaned though....
That Friday was a whirlwind of painting and piddling that lasted into the early evening before SWMBO got home.
I cleaned up the mess in the kitchen and then went upstairs to clean myself up. After my shower I found Izzy fast asleep.
 Poor thing was so tuckered out and did not want to move.
It's interesting she would choose to make a nest out of my dirty work clothes to sleep in.
 I was going to toss this pic but SWMBO suggested I throw it in. I was hoping to get a better picture of the woodwork but ended up getting the trees and bushes in the background.
She thought you'd all like to see our view during the fall.
Now, onto the Saturday of the family bonfire.
After the wall sconces where reinstalled it was time to paint the ceiling. SWMBO said she wanted to do this so I said "sure!"; it would give me a chance to get ready for that night.
 SWMBO in all her glory!
She really did not want her picture taken and DID NOT want a picture posted. Oh well...my picture my blog.
The important thing is is that she is painting the ceiling!!!!
Check out the woodwork!!! Isn't it rich?!?!
Well, that's all the pics of the work in the kitchen up to the bonfire.
Okay, you have all heard me talk about our burn pit and the bonfires we have. I decided to take some pictures so you can all see it for yourself.
There ya go.
 The person standing is SWMBO herself!! She's probably telling everyone lies about me.
 We decided to keep this bonfire small so the only people invited were family members and not all of them had arrived by the time the picture was taken.
These are the nieces along with Izzy.
It's hard to believe that these two are the same ones in this picture - where does the time go?!
They are both in high school now.
 These are the 'Old Things' (my parents) and my sister-in-law (the nieces' mother).
For some reason the rest of the pictures didn't turn out as well.
All-in-all we had members of my family and SWMBO's family there and a good time was had by all.
Hey - look towards the house in the back. Doesn't the kitchen just glow through the windows?!
The next few pictures are from the following Sunday. This is the day we really started putting a few things back in the kitchen.
 This is Rudolf.
I had to be real careful when the walls were plastered and painted in order to make sure the screw hole that held the mounting screw didn't get covered up and lost. The hole is in a stud and I wanted to make sure that the screw went back into the stud where it was originally!

Not really sure why this picture is here, guess I forgot to remove it from the upload list. Oh well, I guess it allows you to see into the back hall area as well as the kitchen.

Man (!!) the woodwork and paint turned out great!!! Can you tell I'm happy with it.
At this point the topcoats have not been added to the windows or the the half-wall top.
 Just a different view.
Can you spot the area I forgot to take care of?

And another...
Those windows sure are dirty aren't they?
You know, I just had a thought. This post could probably of been a lot shorter if all these pictures hadn't been added!!!
 Remember this couple?
Next to them is one of the new window handles. These will get installed after the final topcoat is added to the woodwork.
 Another bleached out picture - >> sigh <<.
The intention is for you to see the Merlot color of the sign. This is similar to the color being planned for the lower part of the wall that the sconces are on. We're not sure now if we want to do this or not now.
However...it will give a hint as to the colors for another room!!
 If this picture were a painting it would be called 'The Feast of the Fur-balls'.
Seriously though...SWMBO wants me to make sure you all know that the cats eat their evening meal here because if we put them on the floor the four-legged garbage scowl known as 'Izzy' wouldn't let them eat it.
I told SWMBO that we should turn this picture into a card. We could send it out to people when we invite them over for a meal!!
 Here's Shalimar. She's supervising the placement of items coming back into the kitchen.
I'm going to try and finish this little cabinet before the 1st of December - wish me luck, my plate is really full.
 This is the baker's rack we have.
Originally it was Forest Green with no wooden shelves. This is where the cookbook collection goes (what would a kitchen be without a ton of cookbooks?). We just threw the stuff that's on it up there for some color.
Anyway, I repainted the rack a hammered black color and gilded the finials. The shelves were added a long time ago and are oak.
Next to it is an antique child's chalkboard easel - it needs some TLC as well.
 Just the cat and Rudolf again.
Okay - let me explain a little bit about why we have a deer head in the kitchen.
First off, I bagged this deer back in 1999 and my parents had it stuffed and gave it to me as a Christmas gift in 2000.
The deer has been placed here because of the way the head is mounted. We tried to place it in several other locations - I mean seriously, who hangs a deer head in the kitchen!! However, it just didn't fit right, or look right, in any other location but here. Besides, when you walk into the kitchen from this doorway it's as if the deer has turned to look at you. On top of this, everyone seems to like it here.
This next item will also take some explaining. It's one of those 'objet d'art' type things.
We are not 100% sure what it is but all the evidence points to it being a window grate from a building, such as a hotel. I recognize the design but can't place it. My mother says it reminds her of "N'awlins".
In reality I think it came from an old luxury apartment building built in the '10s/'20s and torn down in the early '90s in Wichita.
Anyway, our friends Bill & Karen got it from somewhere and I've had my eye on it since. When they moved to Missouri last December we got it from them.
I'm now kicking myself for not getting more 'before' pictures though - oh well.
 Here is the finished product.
After sanding and painting I gilded various areas of the sucker. I have always like gilded wrought iron gates like this one. So I figured "why not?"
The main problem was hanging it. This thing weighs over 25 pounds so it had to be hung with more than one screw in a stud. There were no studs in the locations I wanted nor in the spots you'd think they would be.
So, what should have taken 30 minutes to do (as in hanging it) took over three hours and messed up the plaster! I tried ever trick in the book, including electronic devices, to find studs. They were finally located, the wall repaired, and the grate hung. Now we just hold our collective breaths and hope it doesn't fall. It's been almost a month and it hasn't fallen yet!!
Karen & Bill paid us a visit on Halloween day. The moment they saw the grate they started with all the "oohs" and "aws". Then they noticed the beadboard on the half wall and did the same (that wood came from them as well).
 Not sure how this picture snuck in. Guess it's here just to give you a better view of the backer's rack.
Now this next item will also take some explaining.
I have a modest collection of copper pots & pans and have always wanted a pot rack in the kitchen.
While there are numerous racks available out there I wanted something 'different'. I knew what I wanted but was having a hard time finding it - an old ladder. We already have two, but they are being used elsewhere.
Well...this time last year I found one. It was lying in the yard of an abandoned house on the outskirts of a small town near us.
This abandoned house had a yard filled with junk and the dead weeds and grass that covered the ladder was a sure sign it had been there for a long time.
With this in mind we donned our best cat-burglar clothes, jumped in the car and snuck back over there in the middle of the night. Now keep in mind, this is an abandoned house with junk and derelict cars all over the yard. Even the people we know in the area said it was abandoned.
Anyway, SWMBO turned onto the country lane the house is on and turned off all the car lights (there were other homes nearby). As we pulled up to the house she popped the trunk - the seats were already folded down - and I jumped out. As I grabbed the ladder and started to the car a door slammed open and someone started shouting "who's out there!?!?"
It scared the mess out of me!!
So I tossed the thing in the trunk, jumped in the car and told SWMBO to "GO GO GO!!!"
When it was all said and done I had the ladder.
Everyone still says the house is empty and to this day we have no idea who shouted. We have driven past the place a few times and there is still no sign of life.
On closer inspection the ladder it turned out to be in real bad shape but it was usable.
 Here's the section chosen for the pot rack.
The rungs are in decent shape, but I wasn't about to trust them with the weight of the copper. With this in mind a plan was formulated.

The first stage of the plan was to drill holes at the upper edge of each rung's end.
Look close and you can see them in the picture.
 Next, I took a pre-cut length of brass rod and gently hammered it into the holes so it would ride on top of the rungs.
Here's the first one. You can see the holes better here as well.
After all of the brass rods were installed a couple coats of Amber shellac were applied to give the rack some warmth.
 The next step was the addition of the plumber's chain.
This is the same chain used for the window weights - might as well have them match!
Once this was done it was time to hang the thing.
Due to the nature of the ceiling (it's a drop down from the 50's) we chose to use large toggle bolts. The hooks we are using are nice, but temporary. The ones we want we can't find now, so when we do find them they will be replaced.
 Okay, this is the first hanging of the rack.
We don't want the rack too low or too high so we figured this hanging would allow us to figure out exactly where we want it.
 This is what we decided on.
Extra chain was added as well as clear rubber bumpers to the ends of the rails that face the woodwork.
 Voilà!
There it is with some of the pots and pans.
Didn't turn out too bad did it?
Now for the gritching...
Remember the Red Oak top for the half wall? Well, one of the cats jumped up on top of it the night of the bonfire. Not a big deal except for the fact the beast had wet paws!!
This messed up the shellac and it would need to be repaired. Not a big deal; shellac is easy to repair.
Unfortunately for me THIS was not an easy repair!! For some strange reason I could not get the shellac to work the way it was suppose to. All-n-all it took me stripping the wood all the way back to the wood, re-staining and re-shellacking.
However, the story does not end here. For some reason the shellac would not take the second time, or the third time, or the fourth!! You read that right; I ended up having to strip, re-stain and re-shellac five times before it took!!!
I have no clue why it worked out this way, but I have an idea. I think it was a cross between the brush cleaner and the brush. These two things were causing the shellac to gum up and not smooth out. Even though the brush looked perfectly clean I don't think it was. I used a brand new brush the fifth time and it applied perfectly.
I've never had this happen before, but it's the only thing that makes sense.
Oh well...at least it is done.
Now, once the shellac had dried for a good 24 hours it was time to put the first of two topcoats on it, as well as the woodwork around the windows near the sink and stove.
The topcoat we chose was polyurethane. The problem using this is the dry time and we have cats that like to sit up there.
So the solution....
 ...lattice!!
That's right - lattice - a 4' x 8' section to be precise. You can also see blue tape being used to keep the hair-balls from approaching from the sink side.
A chair was used to help keep it balanced at the bottom.

The pot rack kept it balanced at the top.
It might not be pretty, but it kept the cats off the half-wall top!
The fun part was the people. When someone would walk in and see it they'd usually say "What is that for?!" I'd tell them I like it and plan to use it for a room divider. The looks on their faces were priceless! What's bad is how many people really believed I planned to do it!
 Sorry, this picture is out of sequence; can you tell how?
The important thing though is for you to see how nice it all came together!
 Excuse the mess, what you are suppose to be looking at is how the sun lights up the corner!
There is another thing your suppose to notice - the lights.
I forgot - again - to get some 'before' pictures, but I redid the hanging lights. They are now brass. They might end up gilded before this whole thing is done.
 Just a sampling of my clay cooking pot collection.
There's a tagine, a couple of bean pots and a couple of pâté terrines.
 The baker's rack is coming together.
Not only is a portion (and I do mean portion) of the cookbooks here but so is the morter and pestle collection as well as the boar roaster.
The building inspector is also pictured. So far she hasn't found anything horribly wrong.
Now, let's get to the built-in cabinet.
The whole built-in plan might be changing. SWMBO found the following picture.
 So now we are looking at leaving the built-in alone and get it to looking more like this one.
We did decide to go ahead and cut off a portion of the lower stiles. This would open it up a bit.

Here is the area I'm talking about.
The picture quality isn't the best - I took it with my cell phone.
Once again the Fein Multimaster came in handy for this as well as a couple of clamps and wood blocks to keep the cuts straight.

This is the built-in with the two sections cut away.
It's also been painted and shelf paper has been added.

Just another view.
SWMBO groans when she sees the orange paint, but I've decided to leave this portion of it 'lest we forget from whence we came'.
The countertop of the cabinet has also been stripped, sanded, shellacked, and polyurethaned.
The wood is a similar Pine to the woodwork. When Bill saw it he thought it was Oak.
 Door and drawers are reinstalled but no knobs have been added.
A better view of the coutertop as well as a splash of color.
I guess it does look somewhat like Red Oak.

With a few extra items added we are now getting closer to the 'look' in the picture SWMBO found.
There will be more to come about this later. I think you'll be pleasantly surprised.

Remember all the spices mentioned earlier? Well here they are!
There are three boxes in this picture and all three are filled with herbs and spices.
As of now the top two boxes have been gone through, the bottom one will wait till next week.
Since I'm being honest with all of you, these are just the main spices...I have others!!!
 And these three boxes contain the majority of my kitchen gadgets.
I love gadgets so these boxes will be hard to deal with - I don't want to get rid of anything in these boxes!!
There is a vast assortment of all kinds of junk in here. Everything from escargot & oyster shells to specialty sugar holders - OY!!
I'll try and weed some of the gadgets out next week when I deal with the spices.
Well, this brings us to the end of the MEGA post - not a lot here to talk about but a lot of pictures (I know that's what your all interested in anyway!).
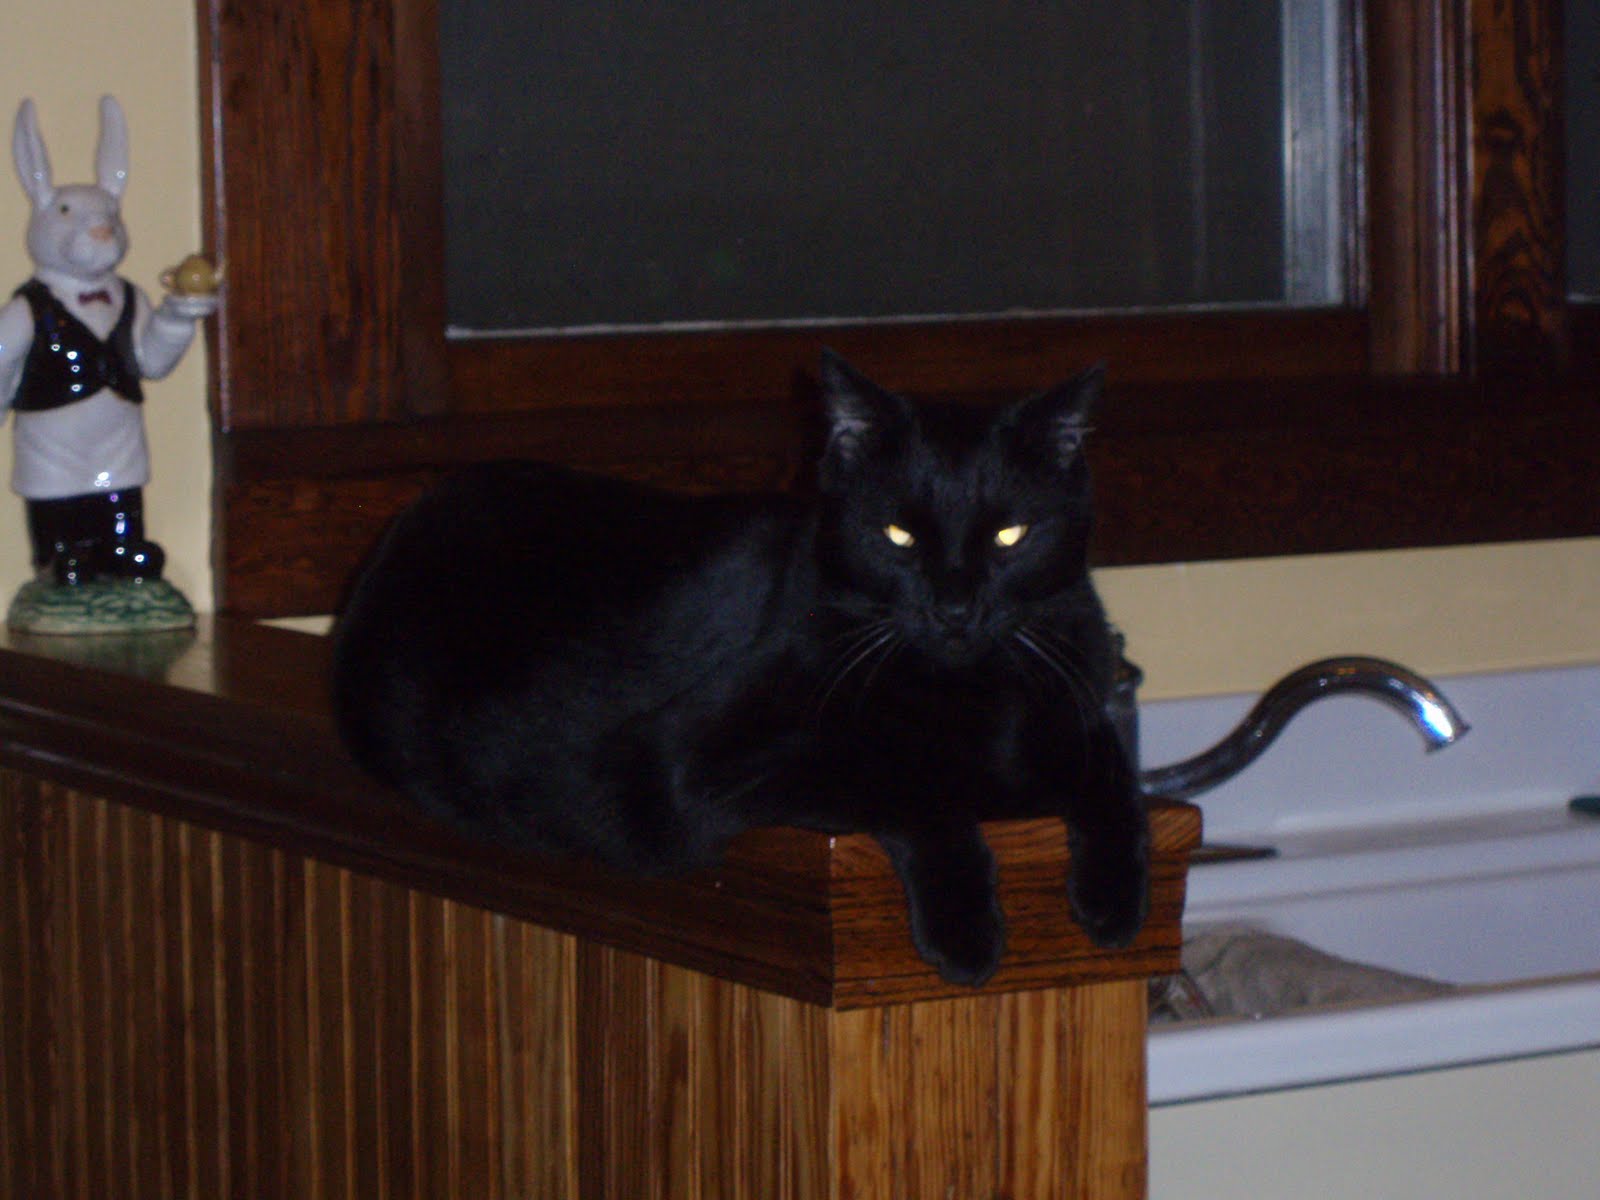 Sabu appears to like what he sees. I hope you do to.
As always, if you have question, comments or recommendations just let me know.
The next post should be more of a 'tour' letting you see the finished kitchen. Well, as finished as it will get till the floor and new cabinets are installed.
Till next time...
Cheers!
Larry ~
P.S. I started this post on the 23rd.


 Posts
Posts